
Azure Custom Application Permissions
Overview
This document is intended to go over the custom permissions necessary for the advanced features of ImmyBot.
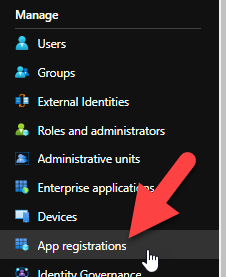
Create an App Registration
Navigate to: https://aad.portal.azure.com/
- Click on app registration
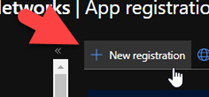
- Click on new registration
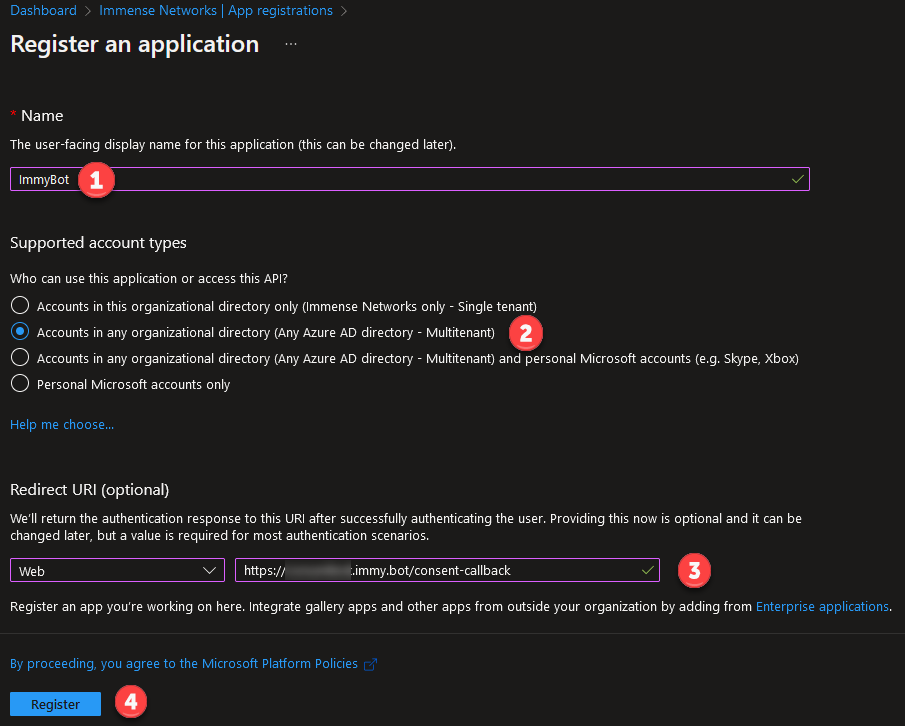
- Name it something recognizable such as "ImmyBot Custom Application"
- Select second radial button for (Any Microsoft Entra ID tenant - Multitenant)"
- Add your Web redirect URI
- Click Register
WARNING
Important! Your app registration must have a Web redirect uri of https://<your-domain>.immy.bot/consent-callback, replacing <your-domain> appropriately
Grant Permissions
See the s below for the minimum permissions.
Click on API Permissions
Click Add Permissions
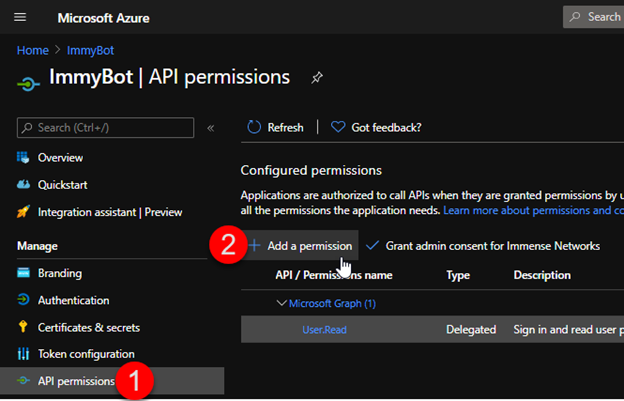
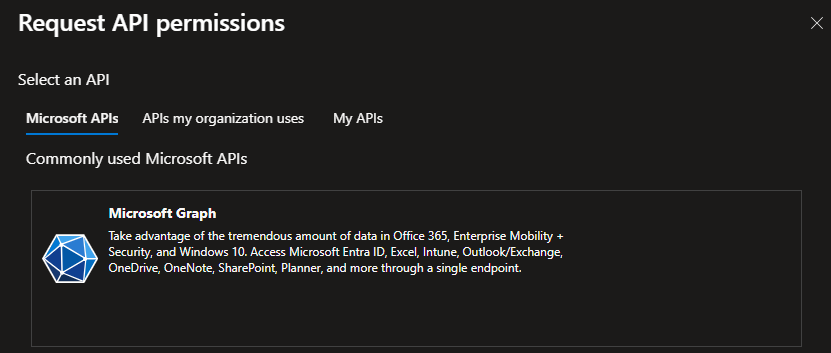
Click on Microsoft Graph
📷
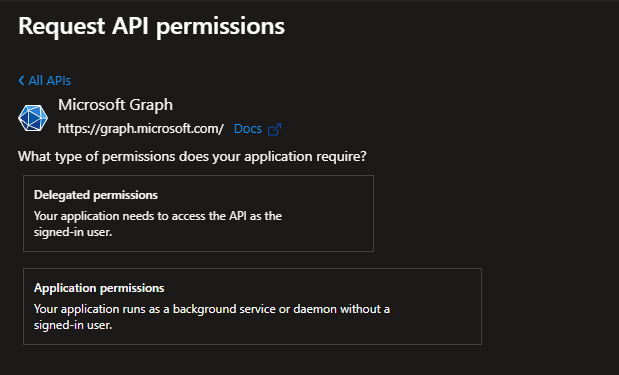
Click on Application Permissions
Add the following permissions
Permission Permission Type Required Notes DelegatedAdminRelationship.Read.All Application Yes Directory.Read.All Application Yes User.Read Delegated Yes DeviceManagementScripts.ReadWrite.All Application No Needed for using the Deploy Immy Agent to Intune task DeviceManagementConfiguration.ReadWrite.All Application No Needed for using the Enroll in Autopilot task DeviceManagementManagedDevices.ReadWrite.All Application No Needed for using Sync Primary User With Intune task Application.ReadWrite.All Application No Needed for using Add Azure Sync Fabric to Tenant task 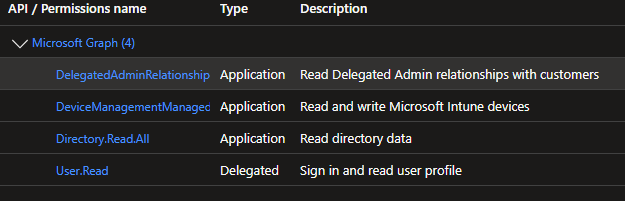
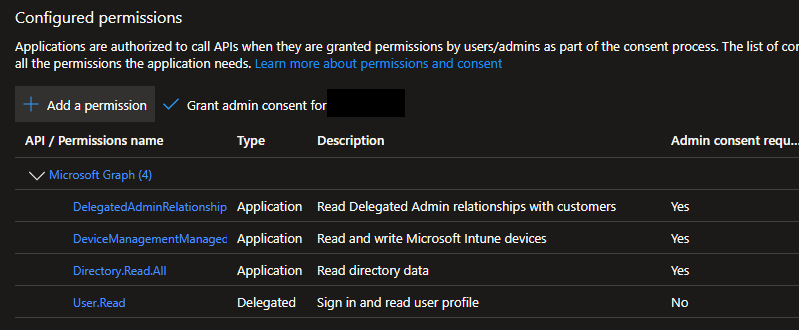
Click Grant Admin Consent for <'your Azure tenant name'>
Create Client Secret
- Click on Certificates & Secrets which is under Manage
- Click on New Client Secret
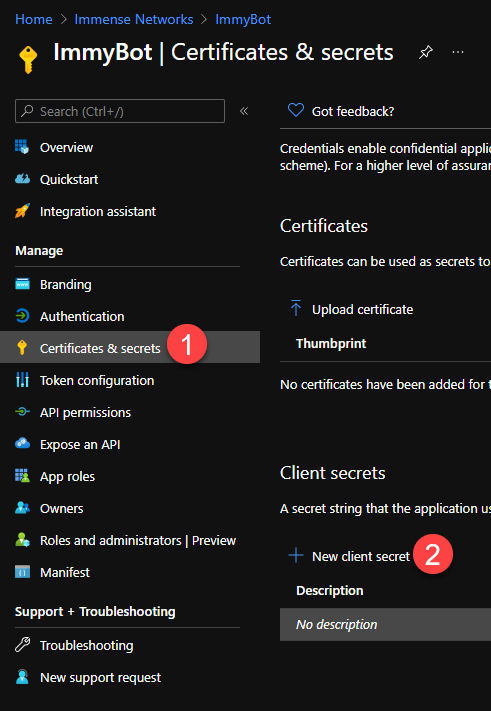
- Create a meaningful description
- Set the Expires timeline to 24 months
- Click Add

- Copy the Secret Value and paste it into ImmyBot

Please see GDAP Customers if you want ImmyBot to access your customers' data.
INFO
Copy the Application (client) ID and Client Secret Value into the form in ImmyBot. The form in ImmyBot is located under Show More -> Azure and will be shown when you select Custom for the permission level